A Complete Guide to Using Thin Reflective Thread in Cap Embr
A Complete Guide to Using Thin Reflective Thread in Cap Embroidery
Looking to make your branded caps truly stand out—both day and night? Want to add a "wow" factor that also boosts safety and brand recall? Enter the world of thin reflective thread.
This isn't your standard embroidery thread. It’s a sophisticated material that can transform a good design into an unforgettable one. But it requires a specific approach. As a professional embroiderer or brand manager, mastering this technique can set your products apart.
Let’s dive deep into how to use thin reflective thread for stunning cap embroidery results.
Why Use Thin Reflective Thread?
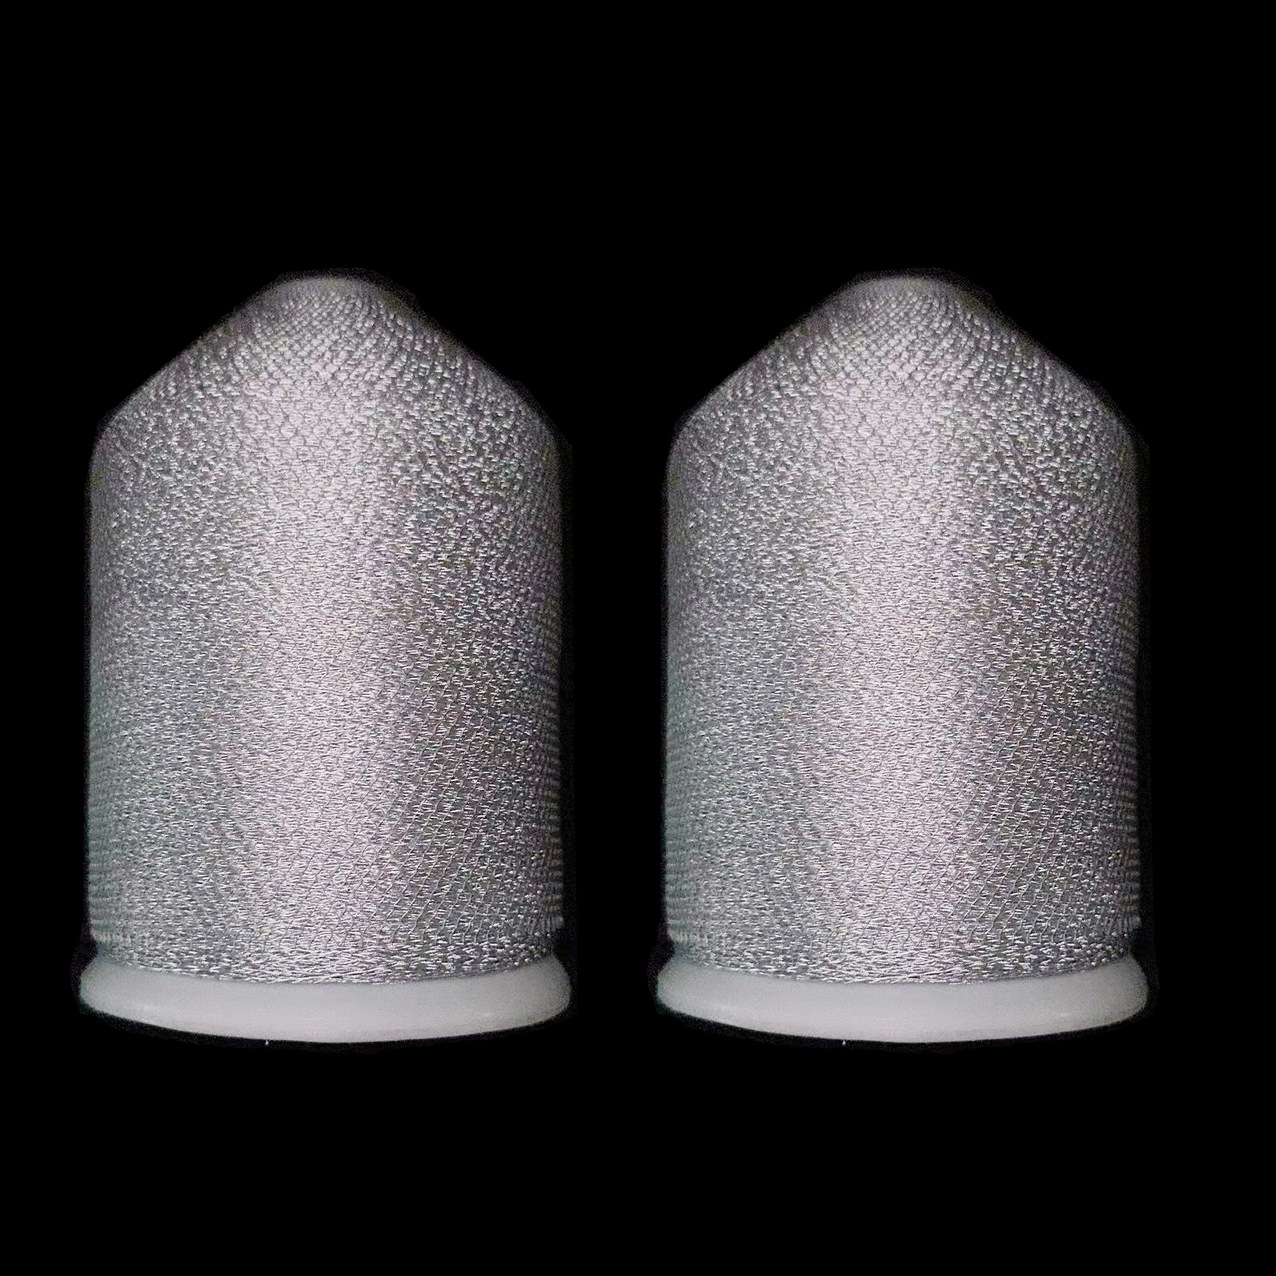
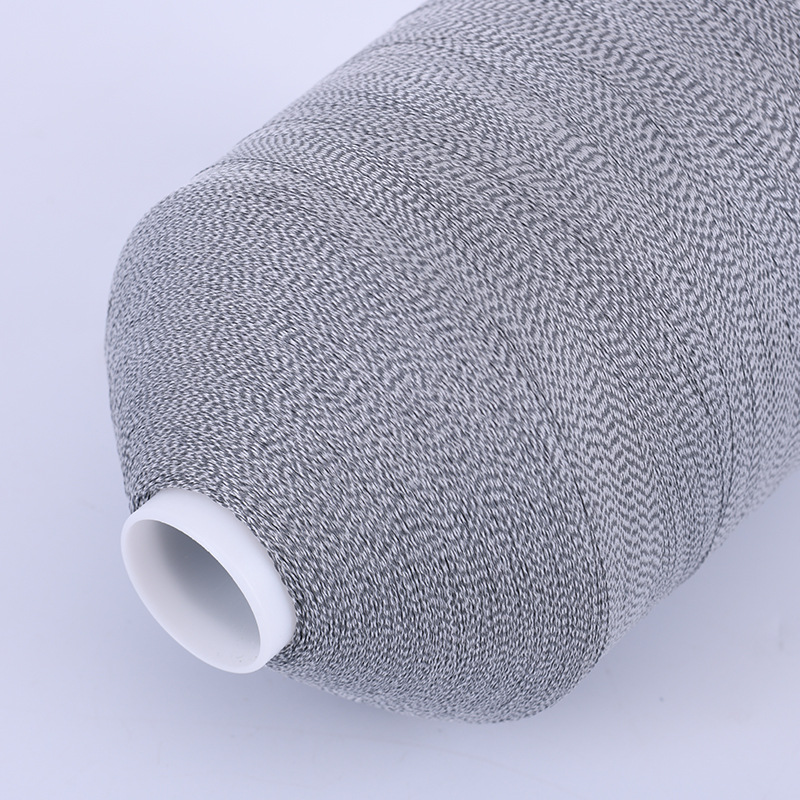
First, understand the power of what you're working with. Thin reflective thread is made with thousands of microscopic glass beads that reflect light directly back to its source (like car headlights or camera flashes).
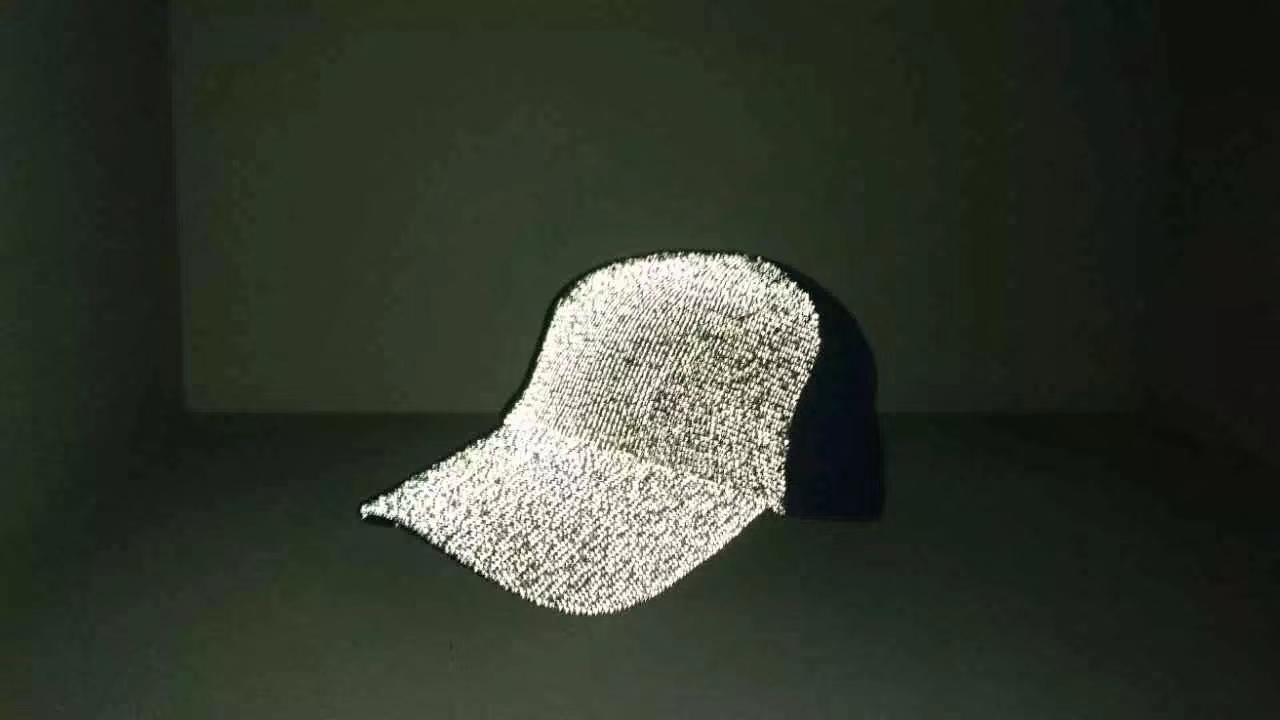
High-End Aesthetics: Creates a dazzling, metallic-like shine in direct light and a powerful glow in low light.
Added Functionality: Perfect for safety wear, outdoor brand ambassadors, and night-time events.
Brand Uniqueness: It’s a conversation starter and a powerful differentiator in a crowded market.
The Challenge: It’s Not Regular Thread
This thread is more delicate and less elastic than rayon or polyester. It can be prone to breaking, fraying, and creating excess heat from friction. The key is patience and precision.
The Step-by-Step Guide to Success
1. Design Selection & Digitizing: The Blueprint for Success
This is the most critical step. A bad digitizing job will guarantee failure.
Keep it Simple: Avoid tiny details, complex fills, and small text. Reflective thread works best with bold, clean designs.
Favor Outlines & Lettering: It's exceptional for outlines (column stitches) and satin-stitch lettering. Avoid using it for small fill areas under 0.5 inches.
Adjust Your Digitizing Parameters:
Stitch Length: Lengthen your stitches. Short stitches mean more needle penetrations, increasing the chance of thread breakage. Aim for a stitch length of 3.0-4.5mm for satin stitches.
Density: Reduce the density. Overly dense stitching creates stiffness and increases friction. Loosen it up slightly from your standard settings.
Pull Compensation: Add slight pull compensation to account for the thread's lack of give.
UNDERLAY IS YOUR BEST FRIEND: Use a standard tatami or zigzag underlay for fill areas. This provides a stable base, allowing the reflective thread to sit on top and shine without needing excessive top stitching.
Slower Speeds: Program the machine to stitch this design at a slower speed (500-600 stitches per minute).
2. Machine Setup & Preparation
The Right Needle: Use a larger needle size to create a bigger hole in the fabric, reducing friction. A 90/14 or even a 100/16 sharp needle (like a Metafil or Embroidery needle) is ideal.
The Right Topping: For structured caps, a cut-away stabilizer is non-negotiable. It provides the necessary support to prevent puckering. Hoop your cap with a firm, tear-away stabilizer behind the front panel and consider a spray adhesive for a perfect grip.
Threading: Use metallic or large-eye thread guides and tension disks if your machine has them. This reduces drag on the thread.
3. Thread Management & Tension
This is where most projects fail. Proper handling prevents breaks.
Horizontal Spool Pin: Always use a horizontal spool pin, not a vertical one.
Thread Net: Place a thread net over the spool. This prevents the thread from unraveling too quickly and tangling.
Path Matters: Ensure the thread follows the smoothest, least restrictive path through all guides.
Tension is Key: Significantly reduce the top tension. Start by loosening it almost all the way and then do test runs, tightening incrementally until the thread lays smoothly without looping on the bottom. The bobbin thread should not be pulled to the top.
4. The Embroidery Process
Patience: Run the machine at the slower speed you programmed. Do not rush.
Monitor Closely: Keep an eye on the first cap. Listen for the "pop" of a thread break. If it breaks consistently in the same spot, you need to go back to your digitizing and adjust the stitch direction or length in that area.
Trim Jump Stitches: If possible, program trim commands to minimize long jump stitches that you’ll have to trim manually later.
5. Finishing
Careful Trimming: Once finished, carefully trim any jump stitches from the front. Be extra careful not to nick the reflective thread itself.
Avoid Heat: Do not use a hot heat press or iron directly on the reflective embroidery. The synthetic material can melt. Use a press cloth with a low heat setting if necessary, or steam from the back.
Pro Tips & Best Practices
Test, Test, Test: Never run a full order without a test on a spare cap or similar fabric. Dial in your tension and speed first.
Mix Media: Don't feel you have to make the entire design reflective. Use it as an accent. Embroider the main design in standard thread and use reflective thread just for the outline or key letters. The contrast is incredibly effective.
Bobbin Choice: Use a high-quality, smooth polyester bobbin thread to help maintain consistent tension.
Climate Control: Low humidity can make the thread more brittle. If you’re in a dry environment, it can be even more challenging.
Conclusion: Embrace the Learning Curve
Using thin reflective thread has a steeper learning curve than standard embroidery, but the results are more than worth the effort. It demonstrates a commitment to quality, innovation, and detail that clients and consumers will notice.
By meticulously adjusting your digitizing, machine setup, and process, you can consistently produce stunning, professional-grade caps that get noticed 24/7.
What are your experiences with specialty threads? Have you tried reflective embroidery on your products? Share your tips and challenges in the comments below!
#Embroidery #DigitalEmbroidery #CapEmbroidery #ReflectiveThread #Manufacturing #Textiles #BrandedMerchandise #ProductDesign #LeanManufacturing #Innovation #LinkedInTips